frankie exclusive diy: bum bag
How to make a retro-cool, hands-free holder for your daily essentials.
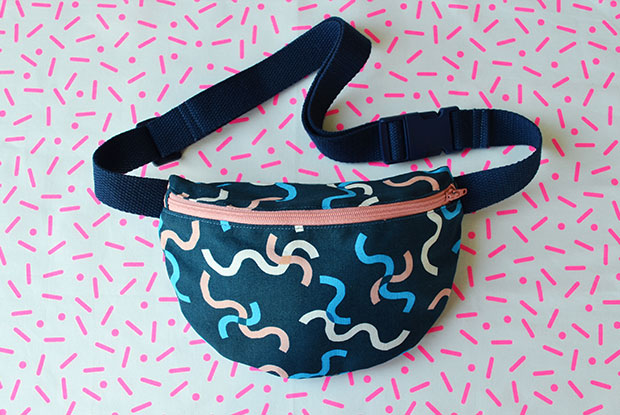
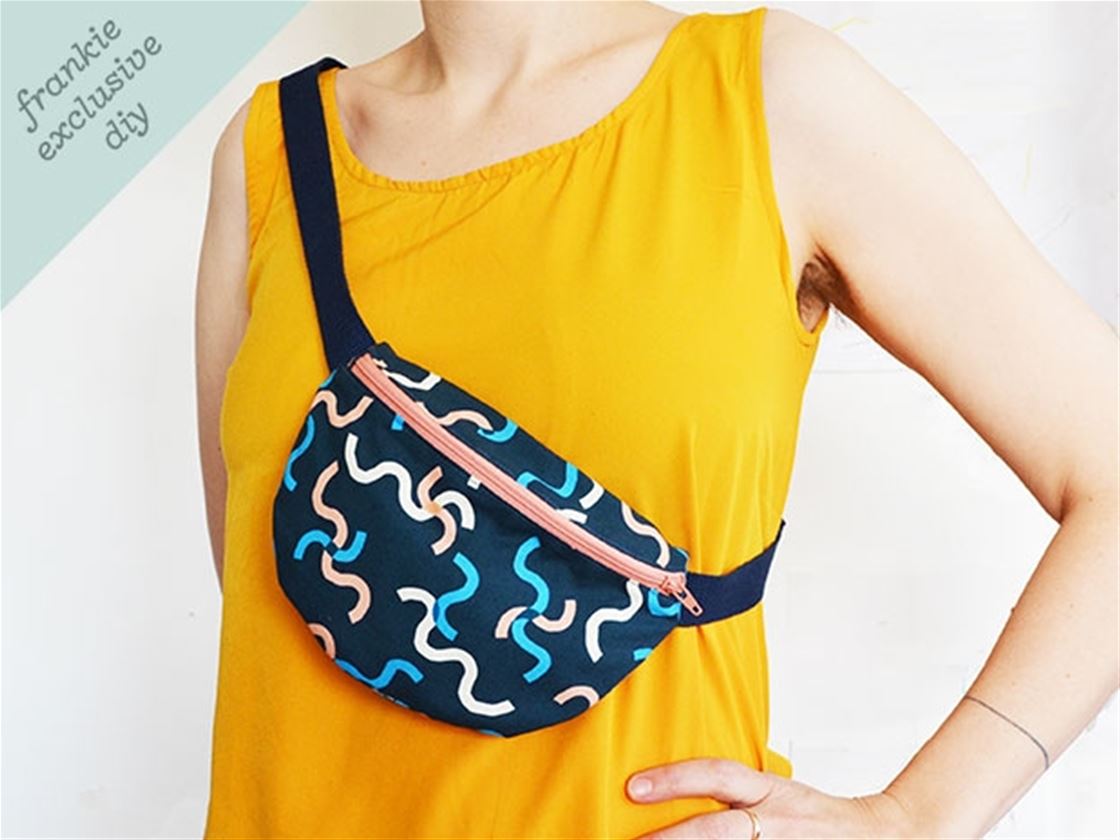
The once-dorky bum bag is well and truly enjoying a resurgence. And who could argue against it? Everyone can appreciate a hands-free bag, whether you're zipping about at the market, or boogieing at a music festival. This DIY version is roomy enough for all of your essentials and can be made in any fabulous fabric of your choice. Take a look below. 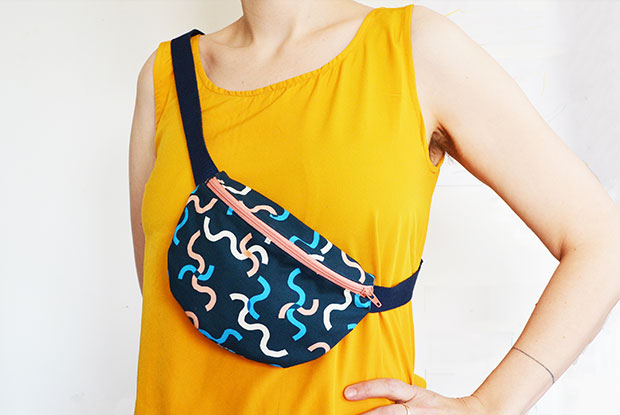
MATERIALS:
25cm quilting weight cotton fabric for the outer
25cm plain canvas fabric for lining
1m cotton webbing, 2.5cm wide
Side release buckle, 2.5cm wide
Strap adjuster, 2.5cm wide
20cm zip
Thread to match your fabric and webbing
Basic sewing kit
Templates – download and print here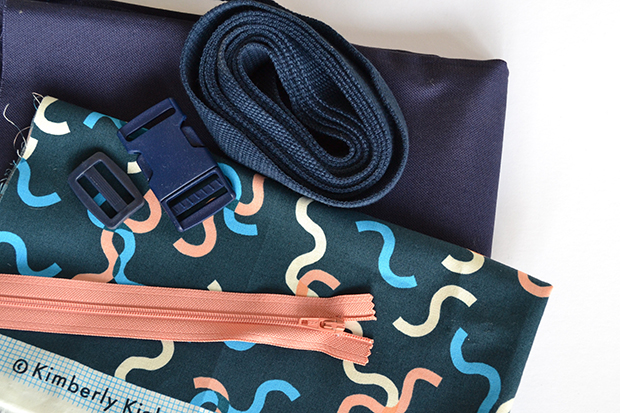
HOW TO
1. Cut out your paper templates. On your outer fabric, use tailor's chalk to trace around templates A, B and C (they already include your 1cm seam allowance). Do the same with your lining fabric, then set it aside for now. Cut two 2.5cm (w) x 7cm (h) rectangles from your outer fabric.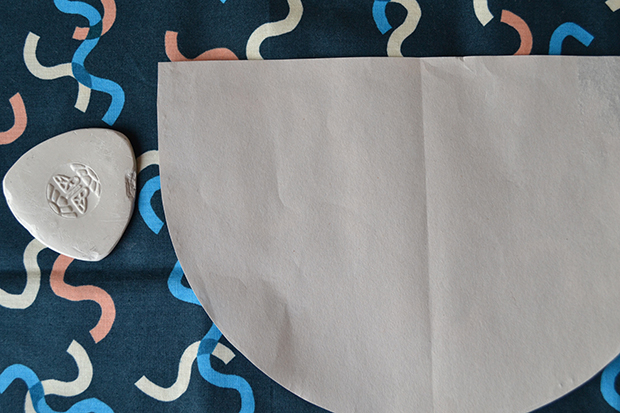
2. To prepare your zip, we’ll start by adding the zip tabs. Take one of the small rectangles you cut and fold both short edges over by 1cm, right sides out, pressing with your iron to crease. Now fold in half so the shorter edges meet, right sides out, and press again. Repeat with the other rectangle. Sandwich one end of your zip inside the open edge of one of your zip tabs and pin in place. Do the same with the other tab at the other end. Sew the tabs in place about 2mm in along their open edge.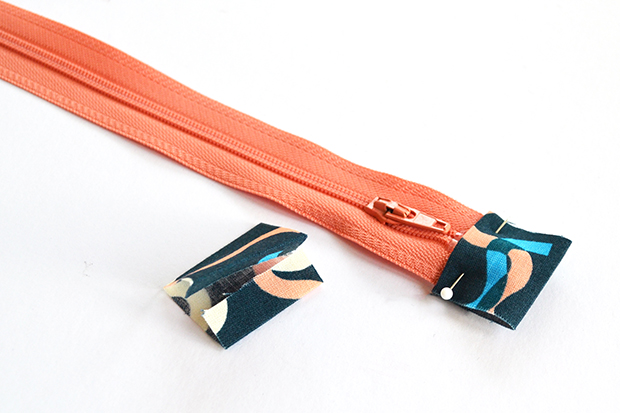
3. Now we can add the zip to pieces A and B of our outer fabric. Lay out piece A face-up with the straight edge at the top. Lay your zip face-down on top so its top edge lines up with the straight edge of the fabric. Clip (or pin) and then sew in place using a zipper foot on your machine and sewing around 3mm from the zip’s teeth. Lay out your A/zip panel and fold the zip out so it is now face-up. Take piece B and lay this face-down on top of the zip so the straight edge of piece B lines up with the top edge of the zip. Clip and sew as before.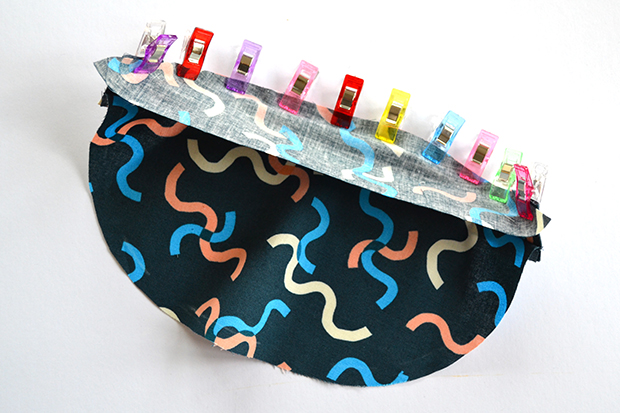
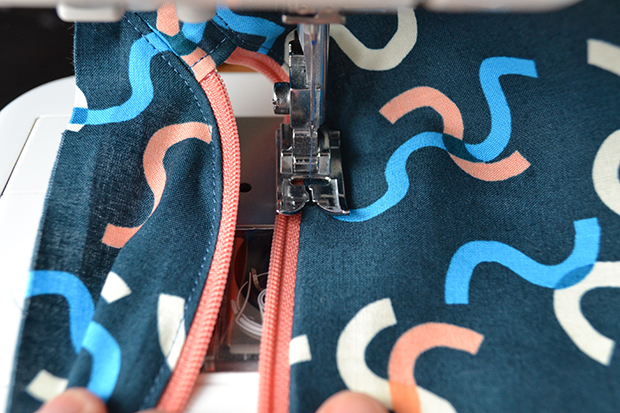
4. Unfold and lay out your panel face-up, and press the fabric carefully where it meets the zip. With your regular sewing foot back on your machine, sew along the fabric either side of the zip about 1-2mm in (this keeps the fabric away from the zip teeth).
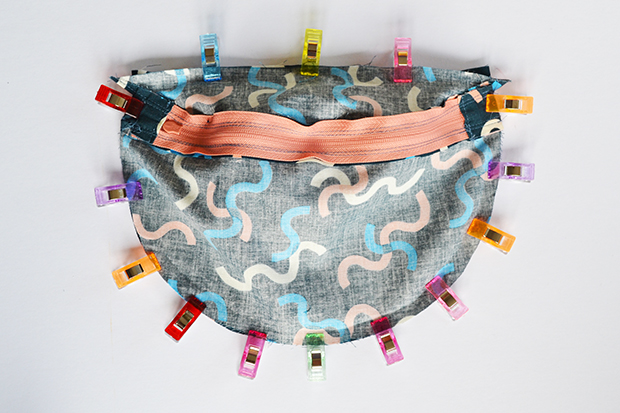
5. Lay out piece C of your outer fabric, face-up, and lay the front panel you just made on top, face-down. Line up all the edges and clip together. Don’t sew yet! Do unzip your zip, though!
6. Now we can prepare the strap. Cut a 20cm length of webbing. Thread one end of this through the slit at the end of the outer part of your buckle by about 5cm. Fold the end under by 1cm and then fold the remaining 4cm flat against the other part of the webbing to form a loop through the buckle. Pin in place to hold the loop.
Now take the remaining 80cm of webbing and thread through the strap adjuster (up over the center bar and down out the other side). Leave the adjuster about 15cm from one end of your webbing for now. Take the other end of that strip of webbing and thread it through the slits on the insert part of your buckle (up through the inner slit, over the bar and down through the outer slit).
Now, still with the same end of your webbing, we need to connect this to the adjuster. To do this, thread in and out over the bar (underneath the webbing that’s already there), by about 5cm. Fold under by 1cm then close to form a loop and pin in place.
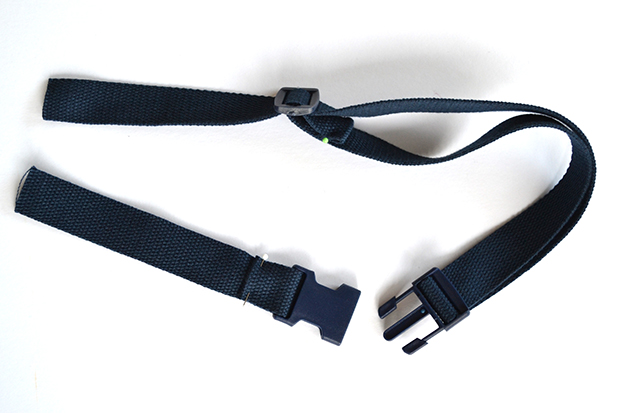
7. At the points where your webbing straps are folded under and pinned, sew across the webbing a couple of times to secure the ends. Now click the buckle together and your strap is done.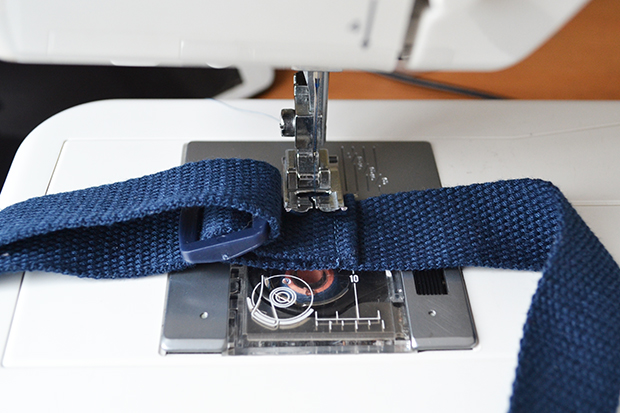
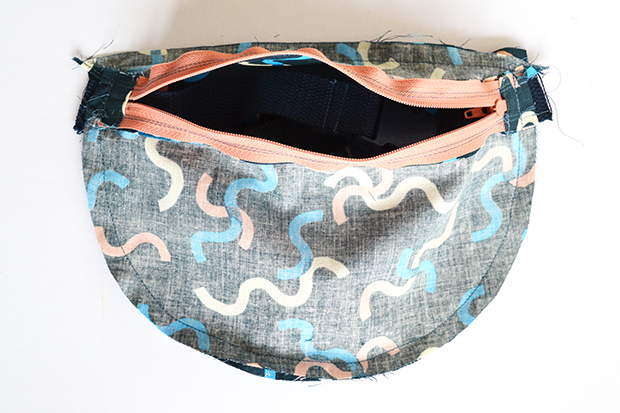
8. Take one end of your strap and tuck it inside your bag outer, through the open zip, and then (removing some clips as necessary) out between the two layers (front and back of your bum bag) lining up with one end of your zip. You want about 1cm of webbing sticking out. Clip the end of your strap in place. Repeat with the other end of your strap (making sure it isn’t twisted) at the other end of your zip. Tuck the rest of your strap out of the way inside your bag. Now sew around the edges of your bag 1cm in.
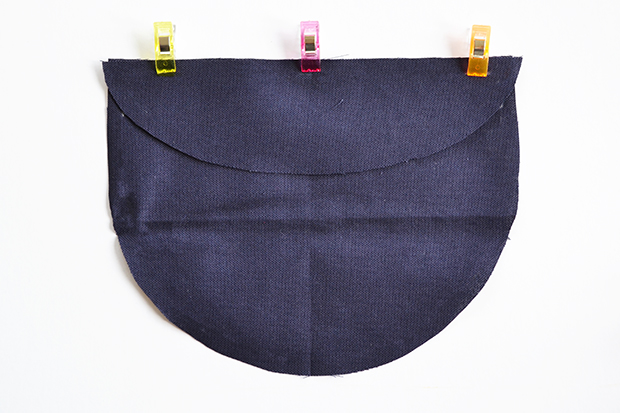
9. Next, take your lining pieces B and C. Lay out piece C, face-up, and lay piece B on top, face-down, lining up along the straight edge of both pieces. Clip and starting 1cm in and ending 1cm in, sew along that straight edge with a 1cm seam.
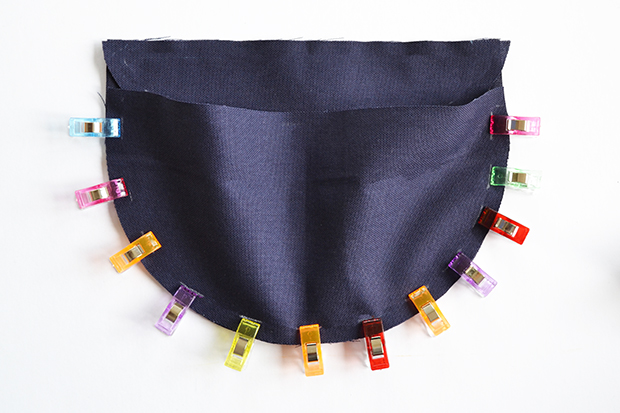
10. Now lay piece A on top, face-down and clip so its curved edge lines up with that of piece C (make sure its straight edge is parallel with the straight edges of the other pieces). Starting 1cm from the top of piece A and also stopping 1cm from the top of that piece, sew along the curved edge with a 1cm seam.
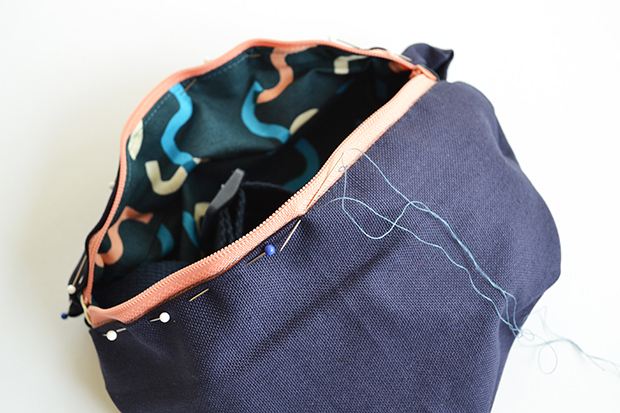
11. Turn your lining right way out, fold all the raw edges in by 1cm and press. Tuck your outer down into your lining and line up all the edges. Pin in place and then hand sew where your lining sits along the edges of your zip. Keep your stitches small so they don’t show on the front. Now turn your bag right way out and you’re done!
See more from Anna over here.




.jpg&q=80&w=316&c=1&s=1)




.jpg&q=80&w=316&c=1&s=1)


