a guide to sashiko stitching for beginners
Kate Ward from Zen Stitching gives us an in-depth lesson on the history and practice of the traditional Japanese craft.
Sashiko stitching offers a beautiful way to connect with a rich cultural tradition while creating something uniquely yours. Whether you're mending a beloved piece of clothing or crafting a decorative item, the simplicity and mindfulness of sashiko make it a perfect hobby for beginners and seasoned crafters alike. So gather your supplies and start stitching – your journey into the world of sashiko awaits!
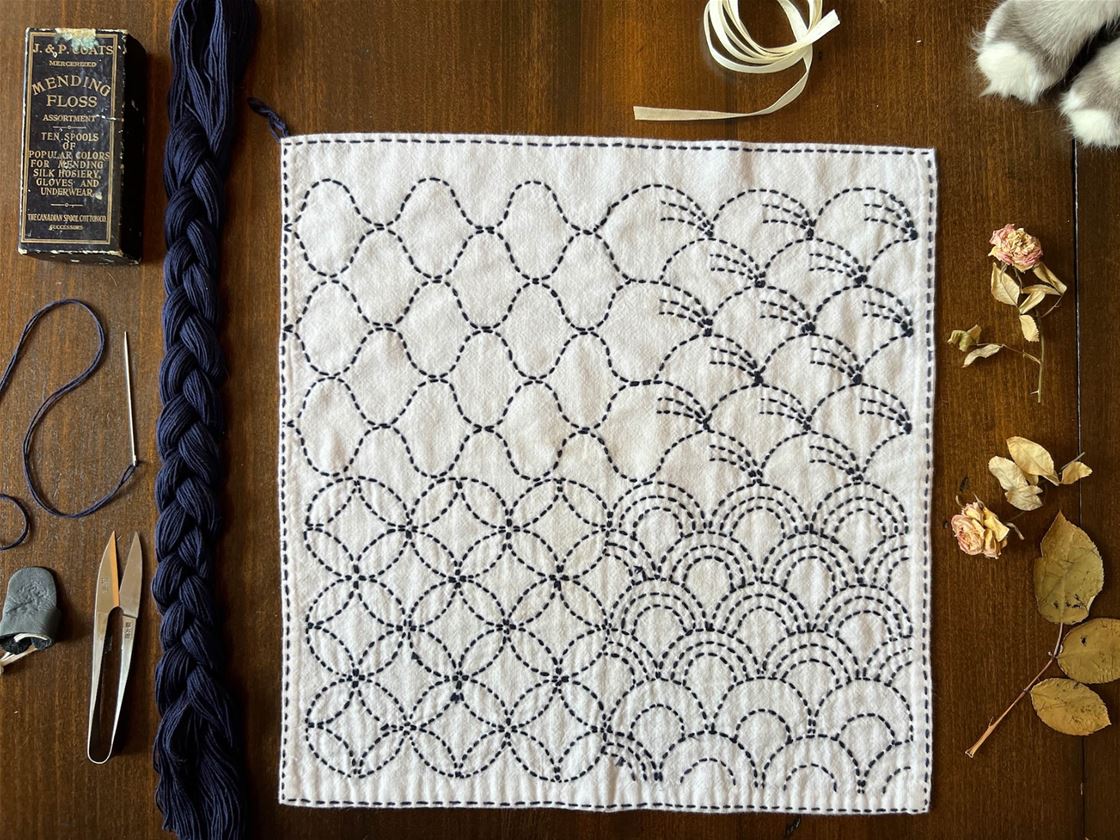
A BRIEF HISTORY OF SASHIKO Before we get started, I think it's always important to discuss the meaning and origins of sashiko. Sashiko means "little stabs" or "little pierce". It is a traditional Japanese embroidery that began about 500 years ago to reinforce fabric. Initially used by rural communities to prolong the life of clothing and and household textiles. Over time, it evolved from a necessity to a form of decorative art, celebrated for its simple yet beautiful geometric patterns.
Historically, sashiko was associated with the working class, especially in the northern regions with harsh winters. Cotton fabric was scarce, so they stitched on it first to increase durability. When fabric tore, they would embroider over it with recycled material to give it new life. By stitching layers together, the technique not only repaired garments but also provided extra warmth. The patterns often held symbolic meanings, reflecting wishes for good fortune, protection, and prosperity. Sumptuary laws dictated the colour of the cloth and the stitch length, controlled by the ruling classes.
Today, sashiko has transcended its humble beginnings, gaining popularity worldwide as a mindful and meditative craft. Its timeless appeal lies in the simplicity of its tools and techniques, making it an accessible and rewarding practice.
GETTING STARTED WITH SASHIKO I love that you only need basic tools and materials to get started, and it’s quite likely that you have many of these things in your craft supplies already. I like to encourage you to use what you have, and if you enjoy the experience, then invest in quality sashiko tools and materials.
The simplicity of sashiko's supplies makes it an easy and affordable craft to start. Here's a list of what you'll need:

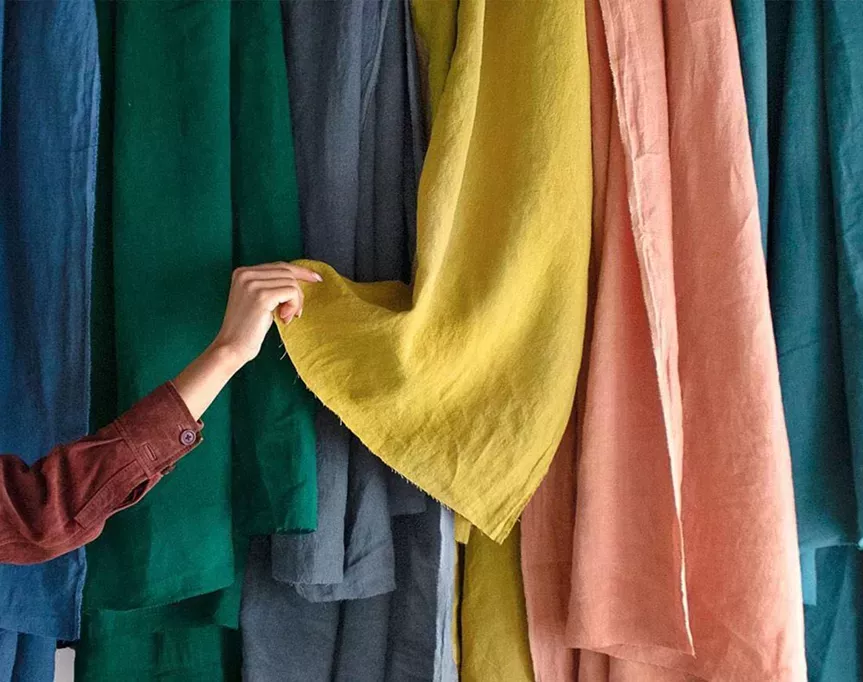
FABRIC Traditionally, sashiko was stitched on indigo-dyed cotton fabric, but you can use any fabric that suits your project. Start with a medium-weight cotton or linen, which is easy to work with and clearly shows stitches. Light colours work best for beginners. Look for fabrics that have an open weave (you can easily see the warp and weft threads); this will make the stitching process easier as there is less resistance when stitching with the thicker thread and needle.
THREAD Sashiko thread is typically a thick, cotton thread with a matte finish, available in various colors. While white on indigo is classic, you can experiment with different colours. Unlike regular embroidery thread, sashiko thread is not stranded, making it stronger and more durable.
If you do not have sashiko thread to hand, you could also use four strands of embroidery thread, or perle cotton thread #8.
One of the reasons why I like sashiko thread is because it is designed to integrate with the fabric it is mending (almost like felting) which helps make the fabric stronger. Here is a link on how to cut and organise your sashiko thread.
NEEDLES Sashiko needles are long and strong, with a large eye to accommodate the thicker thread. Their length helps collect stitches, and their sharp point easily pierces through multiple layers of fabric. When choosing needles, look for ones specifically labeled for sashiko. If you cannot easily find sashiko needles, darning or crewel embroidery needles with a sharp point and large eye are good alternatives.
PALM THIMBLE A thimble is a helpful tool when working with sashiko, as the repetitive stitching can be hard on your fingers. Typically ring-shaped and worn on the middle finger, allowing you to push the needle through the fabric with ease. (Download a free PDF to make your own palm thimble here.)
FABRIC MARKER AND RULER Sashiko patterns are traditionally geometric and symmetrical based on a grid, often inspired by nature, such as waves, mountains, and clouds. You can easily draw your grid and designs using a water-soluble fabric marker and ruler. My favourite markers of choice include a Frixion pen or water soluble kids’ markers. And working with a quilters’ ruler makes it easy to draw up a grid. (Find a list of suppliers here.)
SCISSORS A good pair of fabric scissors is essential for cutting your fabric and trimming loose threads. Keep a small pair of sharp embroidery scissors or Japanese grip scissors on hand for precision work. My favourite are Japanese artisan scissors. The quality of these items is incredible, as is the story of their craftsmanship (read my blog here.)
JUJIZASHI STITCH We will be stitching jujizashi because it is a strong stitch that replicates the woven fabric of the jeans with a ‘warp’ and ‘weft’.
This stitch is named for its cross shape – Ju means 10 and, when written in kanji, looks like a cross. Because this pattern is ever expanding, it is considered a design for prosperity.
It is also very easy to stitch and very effective for mending.
BASIC SASHIKO TECHNIQUES Once you've gathered your supplies, it's time to start stitching! Sashiko involves a simple running stitch, where the needle is woven in and out of the fabric. The key to beautiful sashiko is even, consistent stitches. Here's a basic outline of the process:
1. Select your mend and prepare your fabric patch. Always make sure you are generous with the fabric patch size you are mending. Allow a minimum of an additional inch around all edges of the tear - because all the fabric in this area is weakened. In my demonstration I am reinforcing the denim with the existing fabric that was there for the pocket of the jeans.
2. Using a fabric marker and a ruler, draw up a 1/2cm (quarter-inch) grid.
3. Thread your needle. Cut a length of sashiko thread (about a wingspan, or one metre) and thread your needle. Tie a small knot at the end of the thread to secure it.
4. Start stitching. Begin by inserting your needle from the back of the fabric to hide the knot. Follow your pattern, weaving the needle in and out of the fabric. Stitch the length of each horizontal row.
Aim for even stitches, but don't worry if they're not perfect—imperfections add character!
5. Then come in and stitch the horizontal stitches, creating small crosses. This time you will not be following a grid line - to make it easy, the stitch will start and stop in the centre of each grid square.
When you reach the end of your thread, tie a knot on the back of the fabric to secure it. Trim any excess thread.
6. After stitching the grid, remove the fabric markers (I used an iron, but you could also wash the fabric). This will help you see the finished result. Whilst the fabric has been reinforced with the jujizashi stitch, I decided I also wanted to add a little patch over the worn section.
7. Cut fabric to size and press over edges.
8. Using sashiko thread, Whipstitch patch into place. Here's a video on how to whipstitch.
10. Draw up 1/2cm (¼ inch) grid on fabric.
11. Stitch jujizashi stitch to secure fabric patch.
12. Iron or wash and enjoy your newly mended jeans.  Remember to enjoy the process. Sashiko is a meditative craft, so take your time and enjoy the rhythm of the stitching. It's not about perfection but the experience of creating something beautiful and meaningful.
You can see more of Kate Ward's work by popping by her website or Instagram page. See PDFs of sashiko tutorials she's made here.



.jpg&q=80&w=316&c=1&s=1)







.jpg&q=80&w=316&c=1&s=1)


