how to start using sewing patterns
We asked a sewing teacher from RMIT University to help decipher those crafty paper guides.
Perhaps you’ve had it with clothes shopping – the inconsistent sizing, fabrics that unexpectedly shrink after the first wash, the pants that fit your hips but sag at the waist. There is, however, a better option, and that’s making outfits of your own.
Sewing patterns are a great place to start if you’re thinking about whipping up your very own outfit, but sometimes interpreting the contents of those little paper packets can be rather confusing. Sandra Doutsas, a sewing short course tutor at RMIT University, knows just how it feels. So, we asked her to break it all down for us.
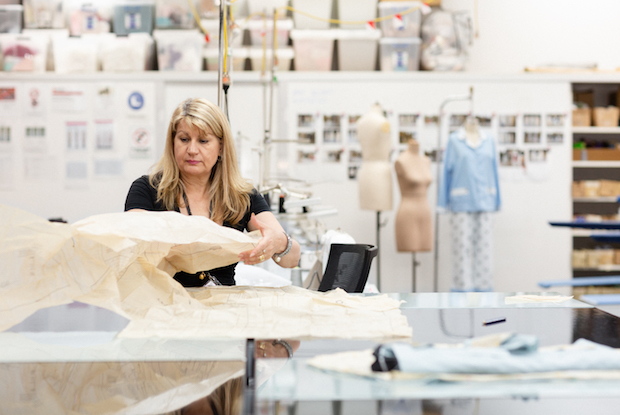
GET MEASURING Before you fork out cash for a sweet pattern, you’ll want to figure out your size. Note down your bust, waist and hip measurements so you can see where you fit on the sewing pattern’s sizing chart. If you’ve picked up a vintage pattern from the op shop, don’t be alarmed if you have to make it a fair bit bigger. “They’re usually much smaller, because they’re based on body shapes from the ’50s, ’60s and ’70s,” Sandra says. “But no one’s that tiny anymore!” Modern patterns are more straightforward, but keep in mind some brands use sizing that’s different from what you’d find in a clothing store, so having your measurements at the ready is always best.
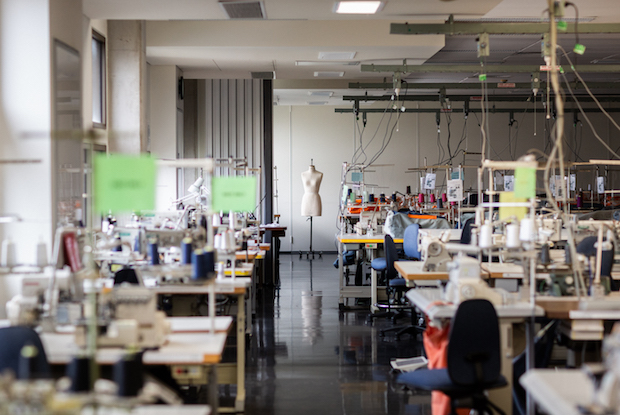
MATERIALS Follow the guidelines set out on the back of the sewing pattern packet to find out what kind of fabrics, trims, buttons and zips you should buy. A good idea for first-timers is to buy a cheaper fabric in addition to the nice one, so you can make a practice version first. “You’ll hate yourself if you make a mistake on a $30-per-metre fabric,” Sandra says. “A calico or quilting fabric which can be $3 or $4 per metre won’t have you feeling so sorry for yourself.” Once you’ve got your textiles sorted, give them all a good iron so they’re flat and ready to go.
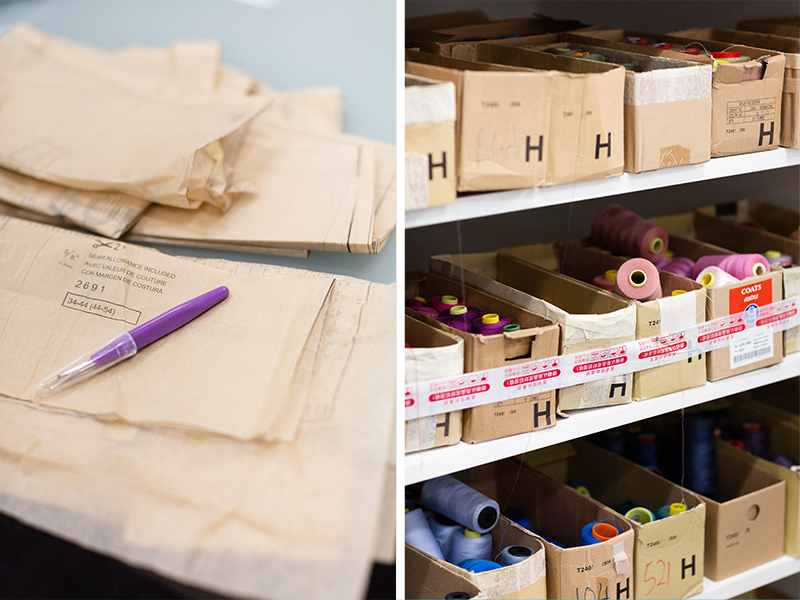
CUTTING A PATTERN TO YOUR SIZE Patterns have different outlines on the one piece of paper to delineate various sizes, and you can use this to your advantage. For example, if you’re a size 10 waist, but size 12 hip, you can graduate your cutting line in and out to suit. Once you’ve settled on the outline that works best for you, it’s time to cut out your pattern. (Or, if you’d like to preserve the other sizes without cutting the pattern, make like Sandra and fold the paper inwards to your desired size.)
It’s a good idea to leave some space for sitting room, too – nothing’s worse than a waistband that fits standing up, but chokes your middle when you sit down to dinner. “I normally allow an extra 2-3cm of extra room for the hip area,” Sandra says. “So if you’re a 90cm hip, you’d add 2-3cm to that measurement.”
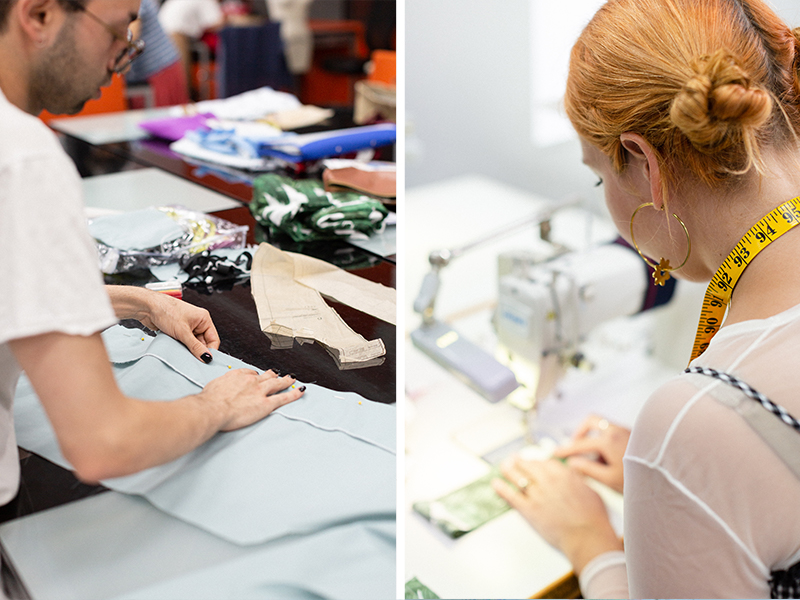
BUT WHAT DOES THAT MEAN? Unless you’ve watched all seasons of Project Runway, you might feel a bit stumped navigating the sewing terminology in a pattern’s instructions. But familiarise yourself with the below, and you should be good to go.
seam allowance – This is the amount of space between the edge of the fabric and your stitch line. If, for example, the pattern says to leave a 1.5cm allowance when sewing, you need to do that everywhere to ensure you get your sizing right.
fusible interfacing – This is a material you can iron onto the ‘wrong’ side of your fabric to make it stiffer. It’s particularly handy if you need to give some body to your garment (eg. a shirt collar, cuff or neckline).
basting – No roast meats involved here! Basting is when you sew long and easily removable stitches to temporarily hold fabric together.
dart – A fabric fold used to shape a garment. Darts are commonly used to create a bust and waistline.
grain – All woven fabrics have a grain, or a natural direction in which it flows. If you look closely, you’ll see long lines running through the weave – that’s your straight grain, which should always run down the length of the body. If you don’t follow the grain, your garment might not sit properly, and could pucker in certain spots.
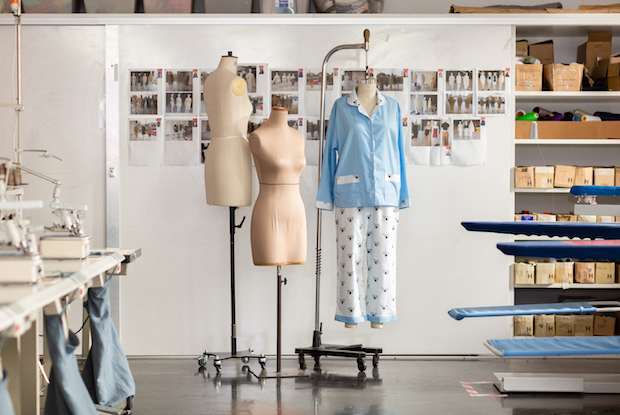
USING YOUR PATTERN AGAIN If you quite like what you’ve made from a particular pattern (yay! You did it!), you can keep it in good condition for future use by tracing it onto a thicker piece of paper or cardboard. Fold it up to store it away and iron it out next time you need it.
KEEP ON TRUCKIN’ Using a paper pattern can be tricky on the first go, but keep pushing through and you’ll get the hang of it in no time. “It can be overwhelming at first, but I’ve seen my students, young and old, make more and more things,” Sandra says. “It’s all about building up your confidence.”
This story was created in collaboration with RMIT University, who run a number of fashion and textiles short courses to help you get started with sewing; patternmaking; jewellery and accessories making; or shoe making. See the full list of 2019 courses here.


.jpg&q=80&w=316&c=1&s=1)








.jpg&q=80&w=316&c=1&s=1)


