frankie exclusive diy: christmas pudding trivet
If you're in need of something cute to sit your holiday feast on top of, look no further than this Christmas pudding trivet.
There's no time like the present to get into the festive spirit. If you're in need of something cute to sit your holiday feast on top of, look no further than this Christmas pudding trivet. MATERIALS:
It’s important to use cotton fabrics, wadding and binding here as some synthetic fabric might melt with heat.
25cm (h) x 50cm (w) brown quilting weight cotton fabric (I used a pattern called ‘Just a Dash’ in cocoa from the Merrily by Gingibar collection for Moda)
25cm (h) x 50cm (w) white quilting weight cotton fabric
25cm (h) x 50cm (w) cotton quilt wadding
25cm x 25cm heat resistant wadding
Scraps of both red and green quilting weight cotton fabric
Small piece of double-sided interfacing (about 10cm x 10cm)
75cm brown cotton
2.5cm bias binding
Cotton thread in brown, white, green and red
Fabric clips
Sewing machine and basic sewing kit
HOW TO
1. Start by cutting the following: two 21cm diameter circles from your brown fabric; two 21cm diameter circles from your quilt wadding; one 21cm diameter circle from your heat resistant wadding.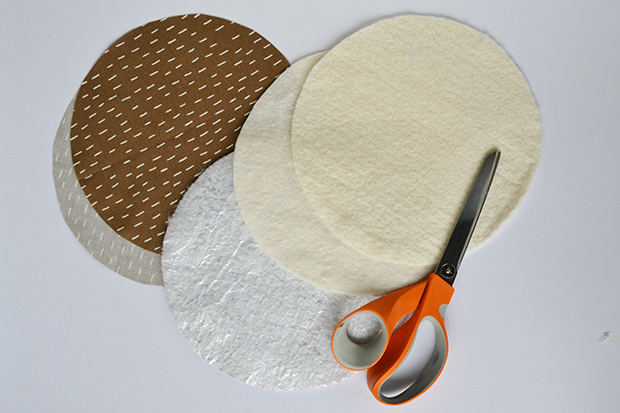
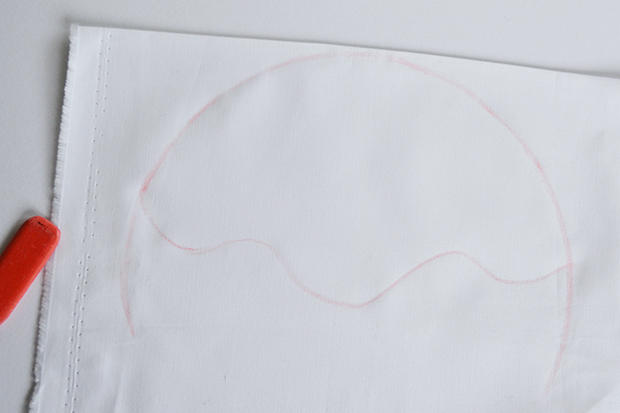
2. Layer up your circles on top of each other in the following order: brown fabric face-down, quilt wadding, heat resistant wadding, second quilt wadding, second brown fabric face-up. Set aside for now.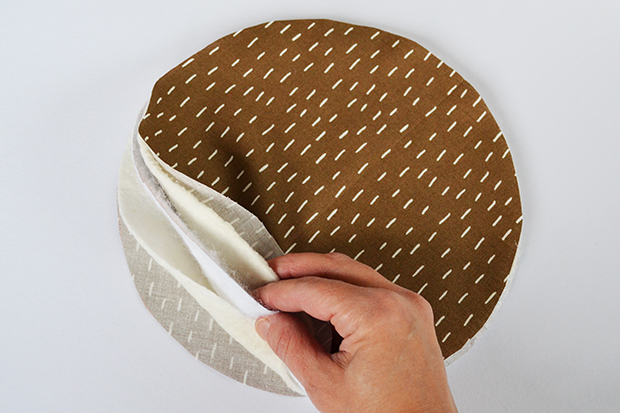 3. Lay your white fabric out and fold in half (shorter edges together), so you have two layers. This ensures the darker fabric below doesn’t show through. Draw out a 21cm circle on your fabric in tailor's chalk. Starting at one side of your circle, just above the middle, draw an undulating line as pictured. Cut out the section of circle above the curvy line (cutting both layers of fabric together). From now on, treat the two white layers as if they are one.
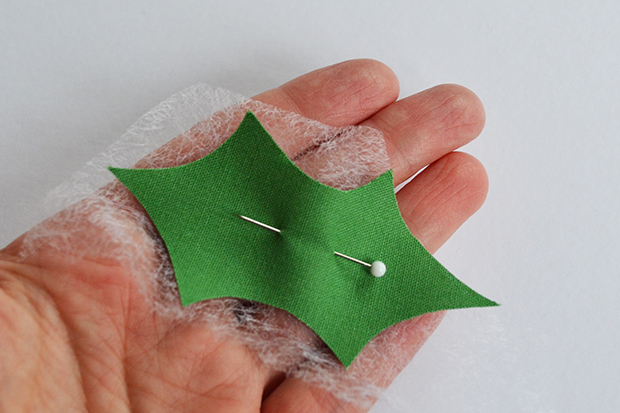
 4. From your green cotton, cut two 8cm long x 4cm wide holly leaf shapes. From your red fabric, cut a 2cm wide berry. Pin your holly leaves and berry on to some double-sided interfacing and cut around them, so the interfacing matches the shapes exactly.
 5. Lay your leaves and berry (with their interfacing underneath) out on your white fabric as pictured (at least 1.5 from the top edge). Remove the pins and press with a hot iron to fuse the interfacing and hold the shapes in place.
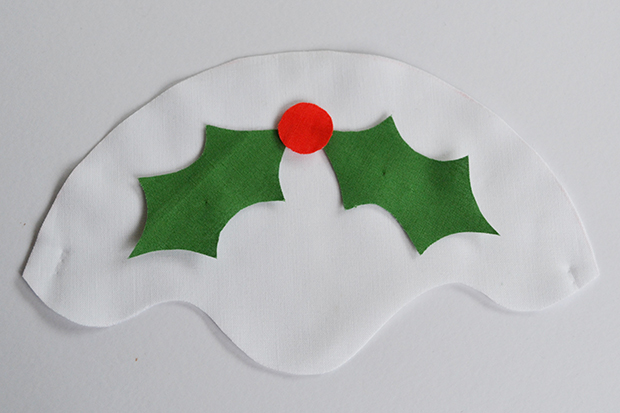 6. Sew around the edges of your leaves and berry with a zigzag stitch in colours to match the fabrics.
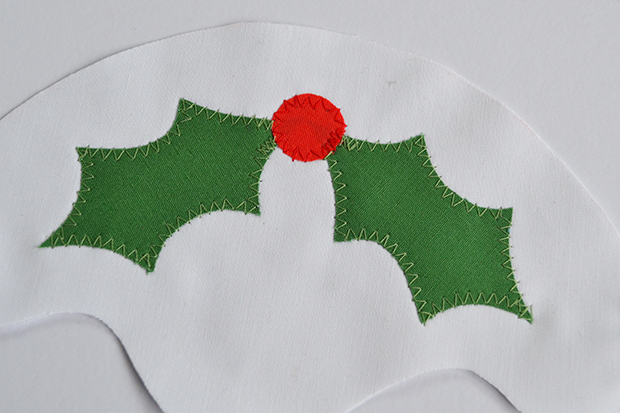 7. Next, lay the white piece (leaves and berries face-up) on top of your stack of circles, so the top edge matches up. Clip everything together with fabric clips then sew along the curvy edge of the white fabric with a zigzag stitch in white.
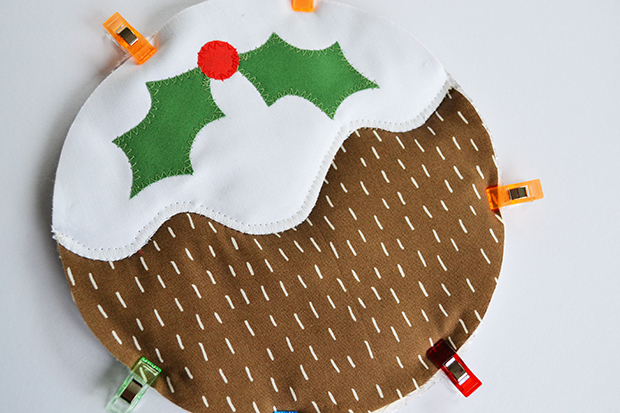 8. Now cut a small strip of your brown fabric 16.5cm x 4cm. Fold in half right sides out so the long edges meet. Unfold and then fold the edges in so they meet along the centre crease, and press. Finally fold along the centre crease again. Sew along both long edges 1-2mm in. Set aside for now.
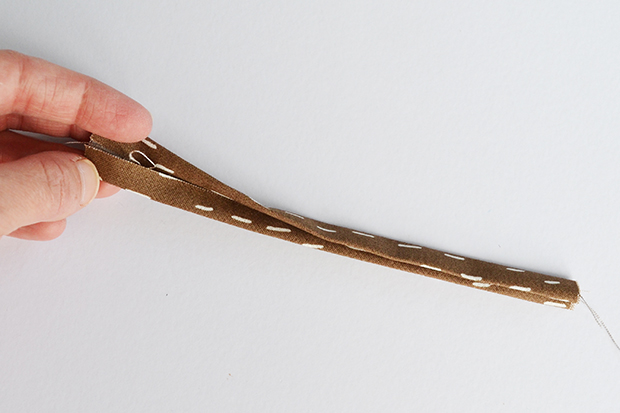 9. Take your bias binding and unfold along one edge. Lay that edge face-down around the edge of your circle of fabric/wadding, so that the crease where it was unfolded is around 7-8mm from the edge. At the ends of your binding, fold over by 1cm and overlap by 1cm. Sew around your binding along the crease. When you’ve finished, trim any of your wadding that is sticking out (sometimes the layers slip a little as you sew).
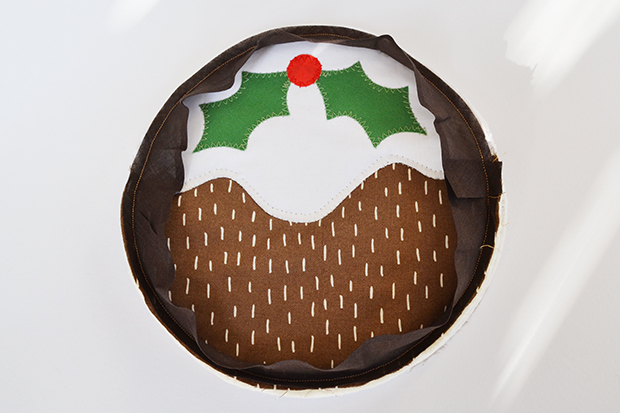 10. Next, fold the binding back over along the crease and then over onto the back of the trivet. Pin the binding in place all the way around. Take the fabric strip you made earlier and bring the ends together to make a loop. Tuck the ends under your binding (check that your loop is just left of centre in relation to the holly on the front). Fold the loop back over the binding and pin in place.
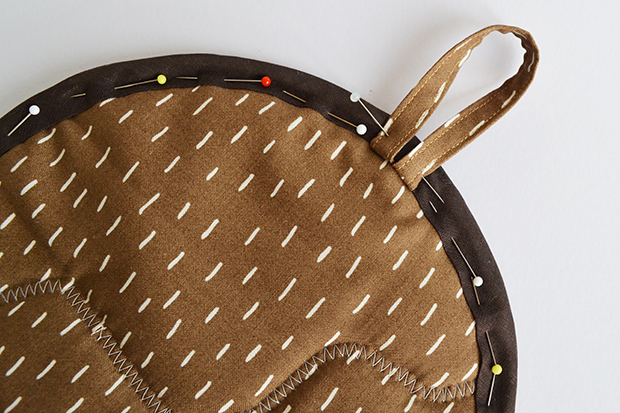 11. Hand-sew all the way around the edge of your binding to finish.
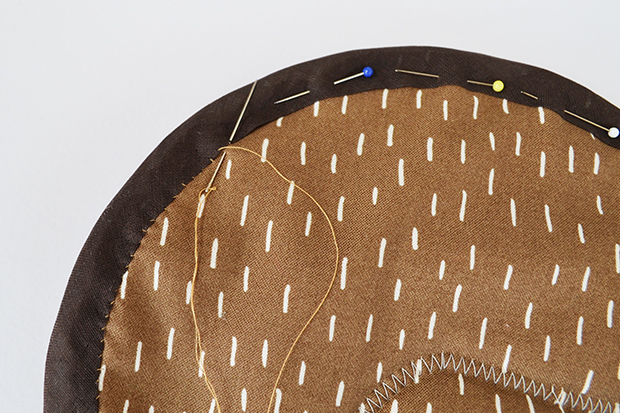 And there you have it!
 See more good things from Anna Alicia over here.
This article was originally posted on 15th December 2019.




.jpg&q=80&w=316&c=1&s=1)











.jpg&q=80&w=316&c=1&s=1)


