diy ombre pom pom christmas tree
Deck the halls with boughs of pom poms – tra la la la la la la la la.
I think it’s generally agreed across the board that a Christmas tree is a fairly fundamental part of the silly season. But a traditional tree isn’t always to everyone’s taste – and let’s not forget those who may not be fortunate enough to have space for that giant plastic tree on sale at Kmart. That’s where this fun ombre pom pom tree comes in. Aren’t you lucky we’re here to save Christmas!
 MATERIALS:
A2 sheet of cardboard
a piece of string roughly 70cm long
pencil
scissors
hot glue gun
pom pom maker (optional)
yarn in varying shades of one colour (at least 8 colours) INSTRUCTIONS:
1. Tie the string to the pencil and tape it down for good measure (you may also want to tape your cardboard to your table while you’re at it). With the shorter sides of the card facing to the left and right of you, hold down the string at the very bottom left hand corner. Hold the pencil (with the string pulled tight) in the top left corner. Swing the pencil in an arc from the top left corner to the bottom edge of the cardboard. 2. Cut along the line you just drew.
 3. Work the card into a cone shape, ensuring the base is flat and there is no gap at the peak. Tape it down on the outside and along the inside of the cone. Don’t chuck out the leftover piece of card, though – you can use this to make a smaller tree!
 4. POM POM TIME, OMG. You will need two sizes of pom poms (bigger pom poms for the bottom half and smaller ones for the top half). If you have a plastic pom pom maker handy you can use this – but if not you can use your fingers to make pom poms! Wrap yarn around three fingers until you have a decent sized chunk formed. (To avoid crushing your fingers, you might want to start off with them slightly spaced apart).
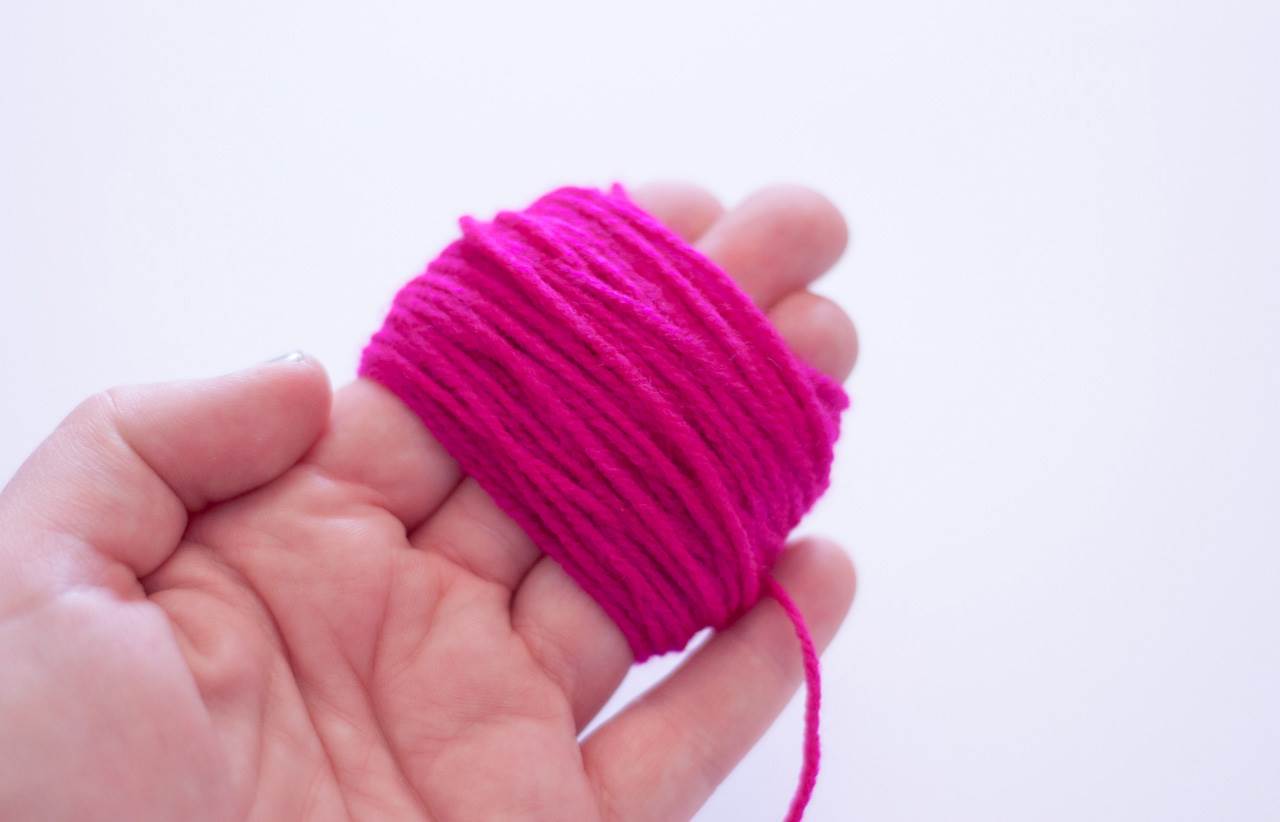 5. When you’re happy with what you’ve done so far, cut off the yarn. Then cut a piece of yarn roughly 20cm long and wrap it around the middle of the chunk on your fingers. You can use a pencil to push it through your fingers and tie a knot. It only has to be a loose knot at this point.
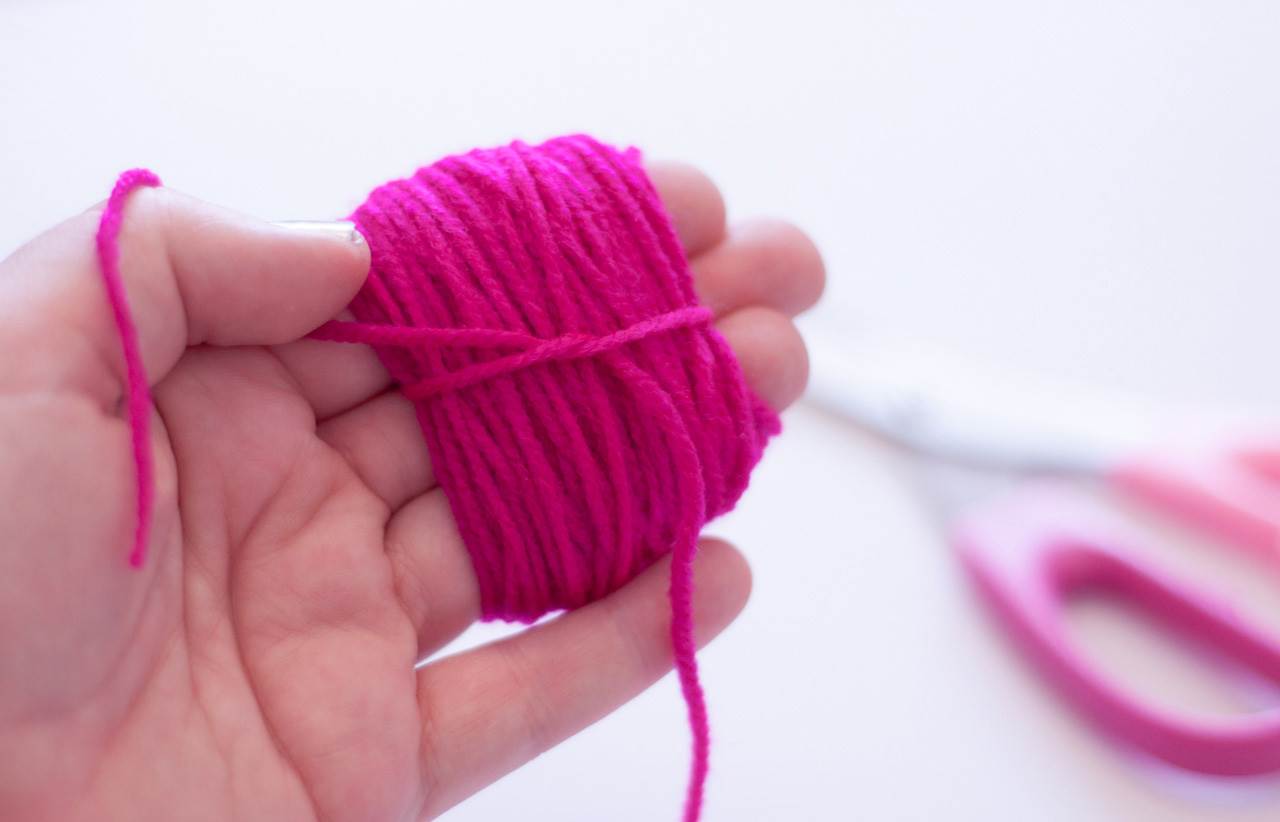 6. Gently slide it all off your fingers, keeping the shape, and pull on the knot as tight as possible. Do a couple more knots to make sure that little sucker isn’t going to unravel on you.
 7. Slide the scissors through the loops formed from the knot and cut all the way through on both sides.
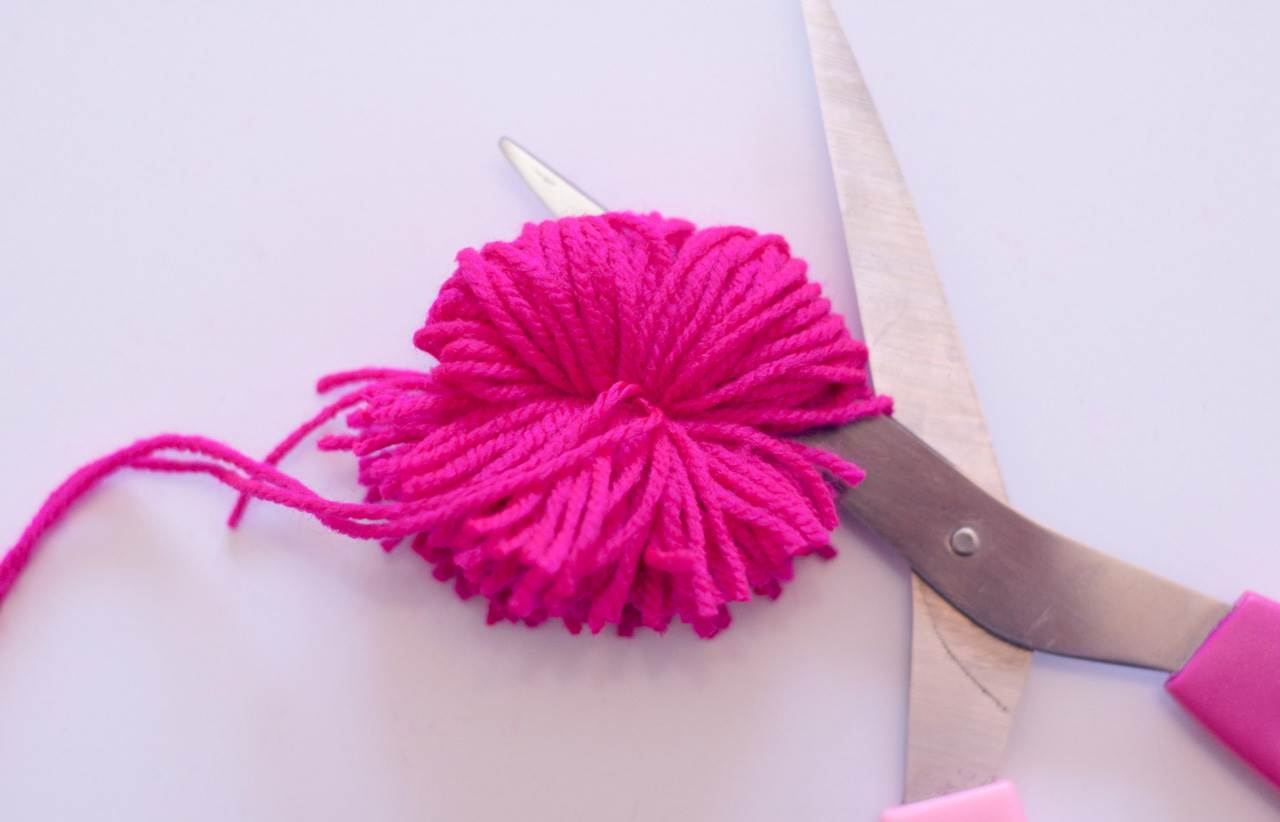 8. Trim down the pom pom, making sure you don’t actually cut through the knot you worked so hard to tie.
 9. Depending on the size of the cone you’ve made, you’re going to need around 17 pom poms for the bottom row of the tree and around 33 all up in the first colour. Pom poms tend to use a fair bit of yarn, so make sure you have at least a full ball of yarn or two for the bottom rows. When you’re halfway up the tree you’ll need to reduce the size of your pom poms, so instead of using three fingers, use two.
 10. Trim off any excess straggles and display it proudly in your home!
 For more crafty goodness from the super-talented Phebe, scoot over this-a-way.

This article was originally published on the 6th of December, 2017.




.jpg&q=80&w=316&c=1&s=1)








.jpg&q=80&w=316&c=1&s=1)


